15 Tips for Photographing Fall Colors
Photographers' favorite time of year is just around the corner…fall! To make the most of your photography sessions this Autumn season, you’ll need to be prepared. The 15 tips below will explain how to take your fall foliage photos to the next level!
Research Locations and Check Fall Color Reports
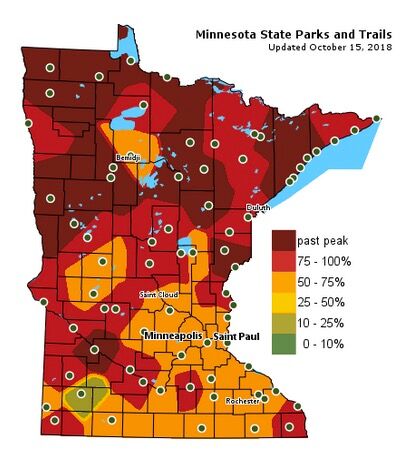
Whether you are photographing locally or traveling long distances for fall color shooting, make sure to check color reports ahead of time. Avoid booking travel too far ahead of time, as colors change at different times each year depending on rainfall, temperatures and more. There are also several groups on Facebook for sharing current fall color conditions in specific areas. In Minnesota (my home state), we have a fall color finder managed by the DNR that is extremely helpful. Other states and regions have similar reporting online.
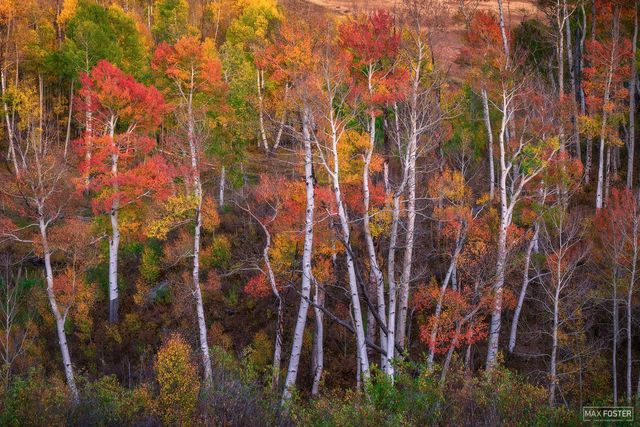
Go When Colors First Start Turning
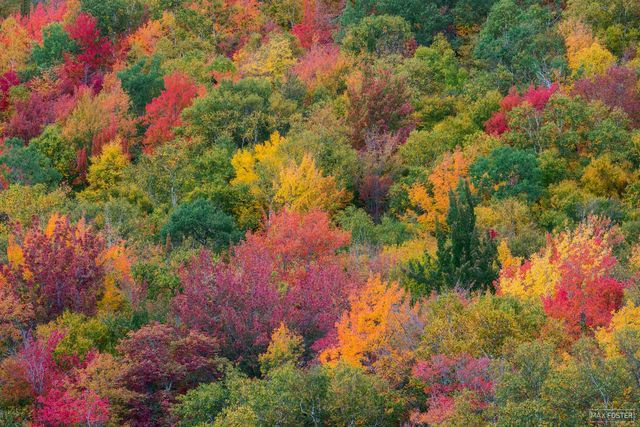
As much as I love shooting a sea of yellow aspen, I prefer shooting the beginning and middle of the foliage color turn even more as it allows for maximum color variety. Shooting early means more color contrast and visual interest in images. Timing is everything to make this successful, but it can have very pleasing results.
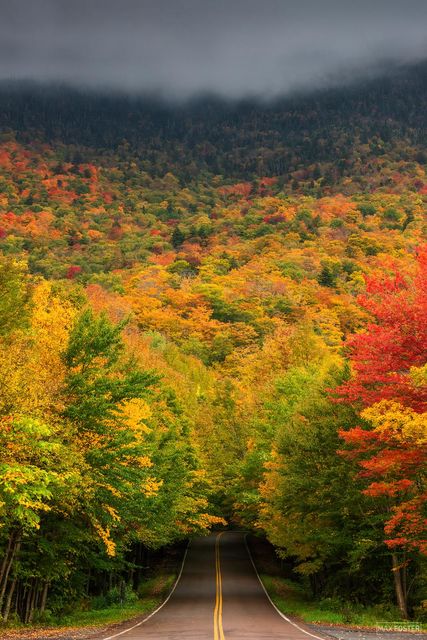
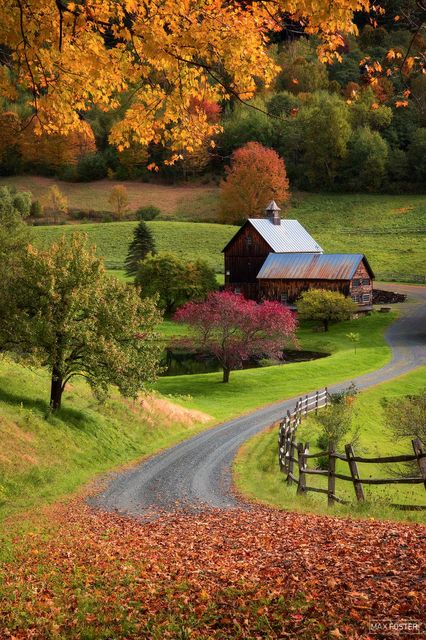
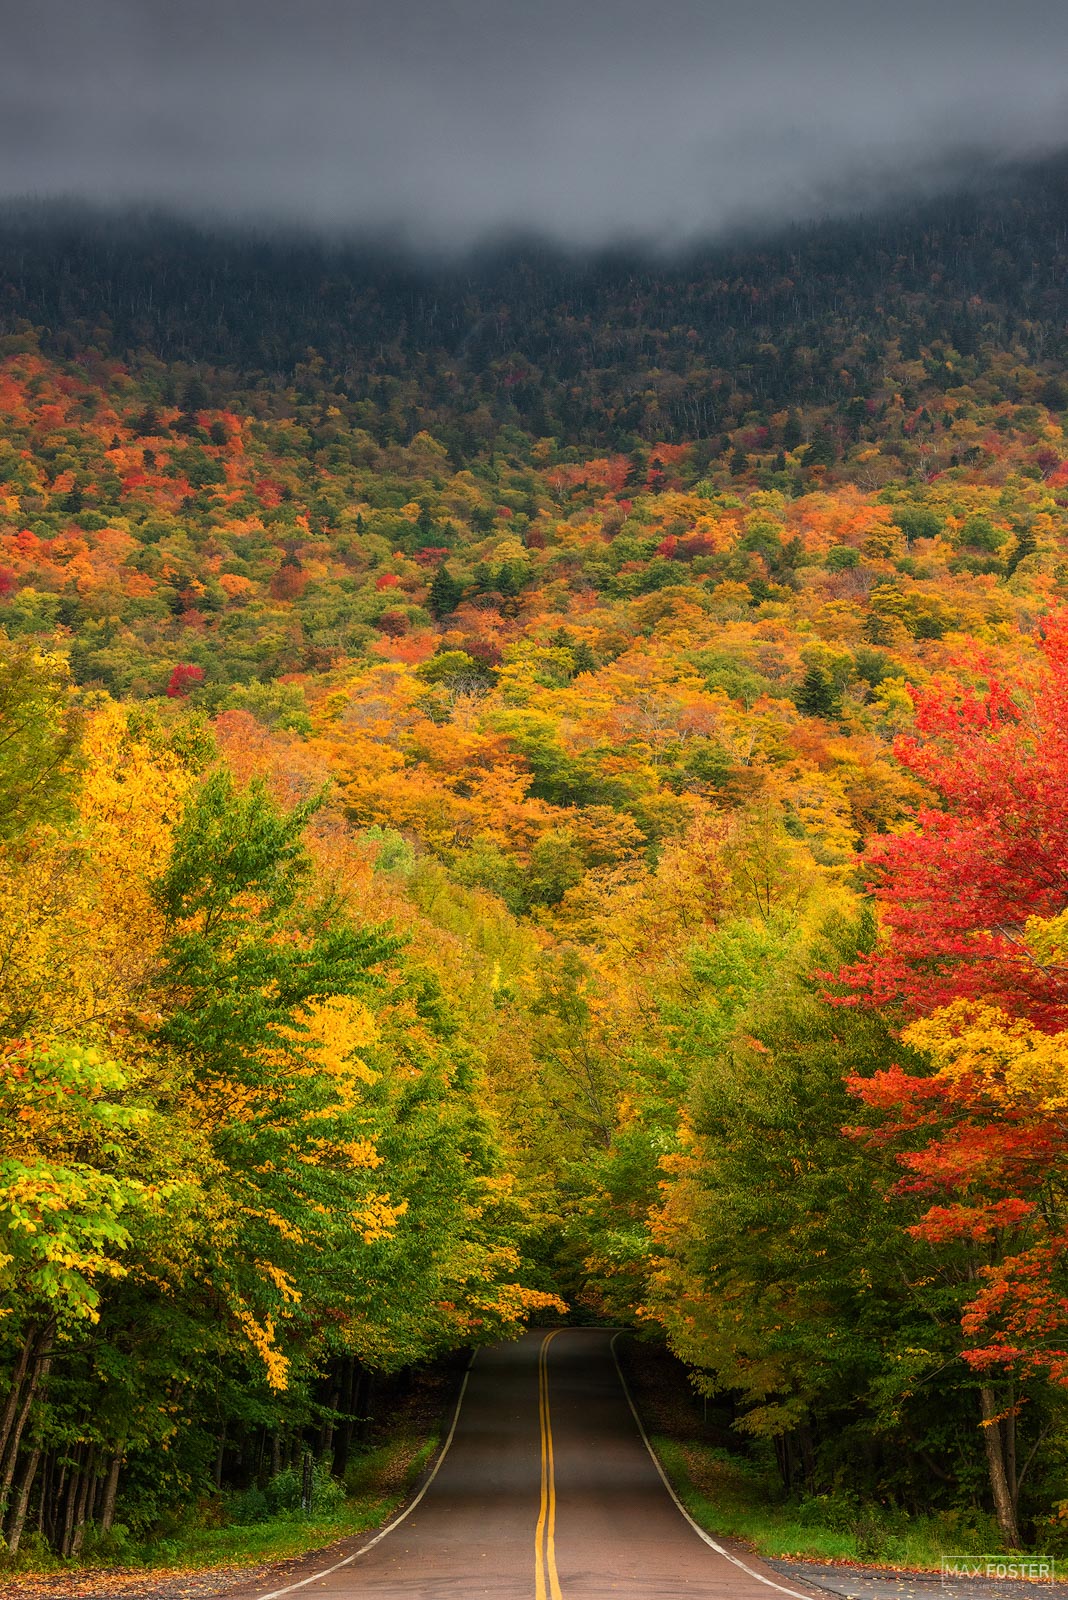
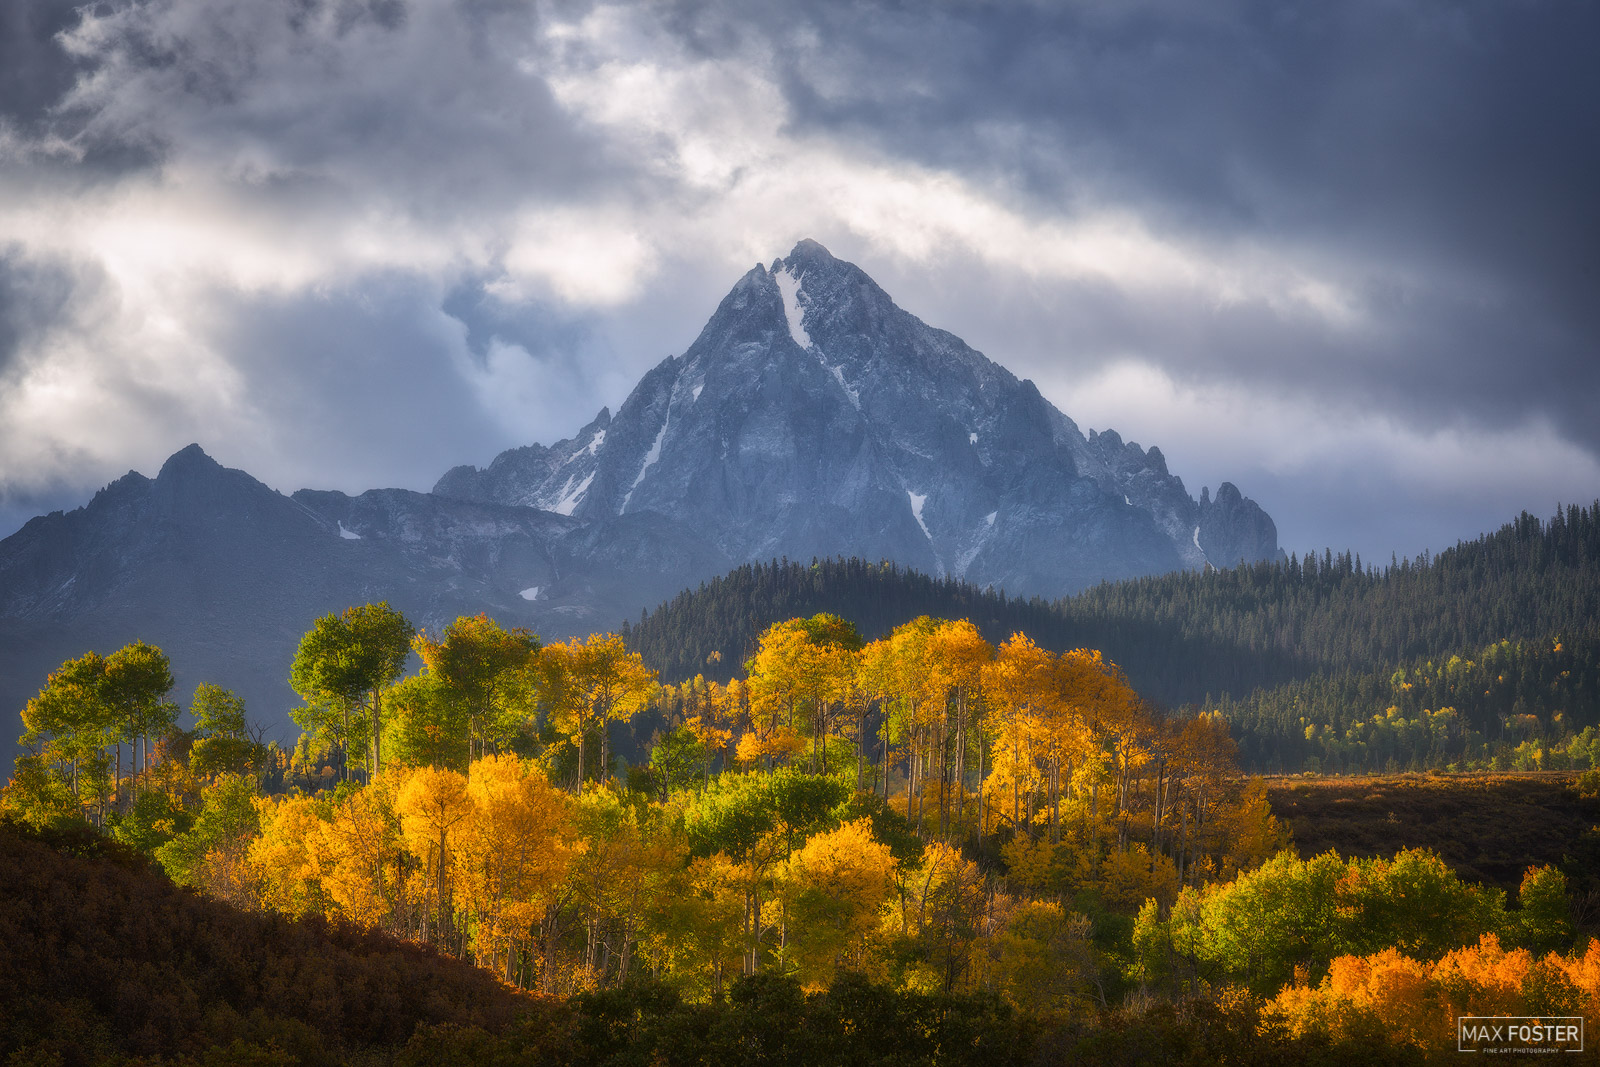
Watch the Weather: Overcast is Best
Overcast days are great for shooting fall colors. At other times of the year, overcast days can leave your photos feeling flat. However, fall is the best time to shoot when clouds are thick overhead. The soft, low contrast lighting on overcast days means foliage colors look saturated and rich. Without direct light on leaves, there is much less glare to deal with as well. Avoid compositions that include the white, colorless sky to maximize the impact of your images. Bonus: Overcast weather means you can shoot all day!
Shoot on days with little or no wind. Since the focus of fall color shooting is on foliage, wind is the enemy. During blue hour and golden hour when the light is low, this is especially true. Make sure to account for any movement in foliage by reviewing your images in the field and adjusting to faster shutter speeds if necessary.

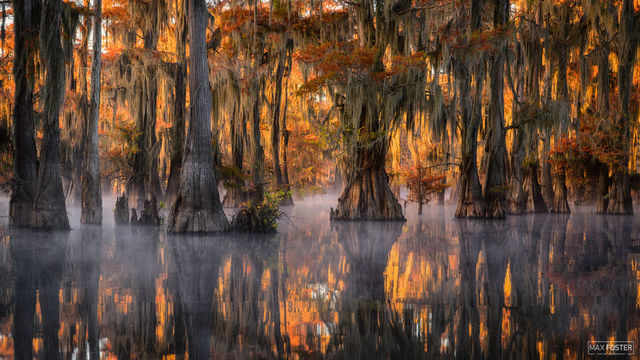
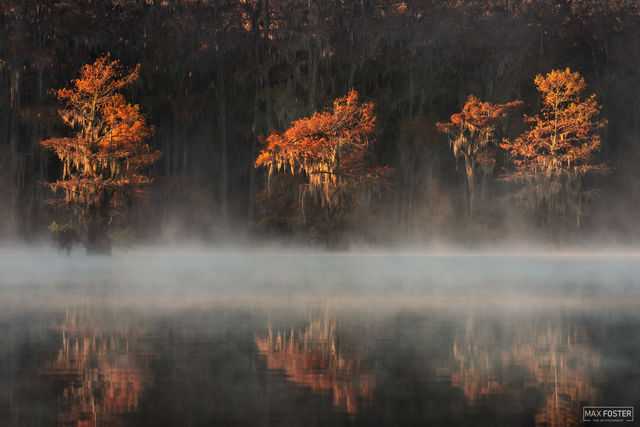
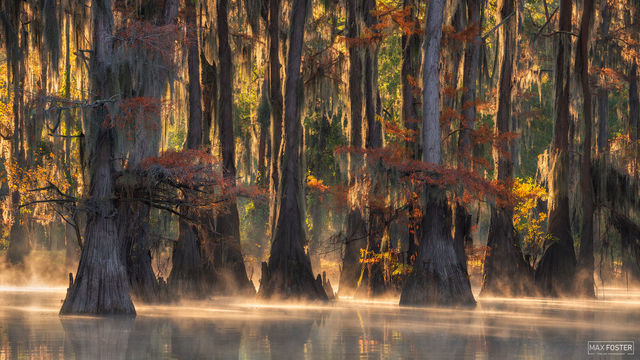
Foggy days can create incredible atmosphere. With cooler days, fog becomes more common. Shooting in foggy conditions is ideal for fall colors, as it reduces contrast and gives your photos a dreamy atmosphere. Look for low lying areas or bodies of water that are more likely to gather fog overnight. Typically, morning is best for capturing fog, as it burns off throughout the day. Since fog is white, check your exposure to make sure you are not underexposing your images. Camera light meters often underexpose when large portions of the scene are white or gray.

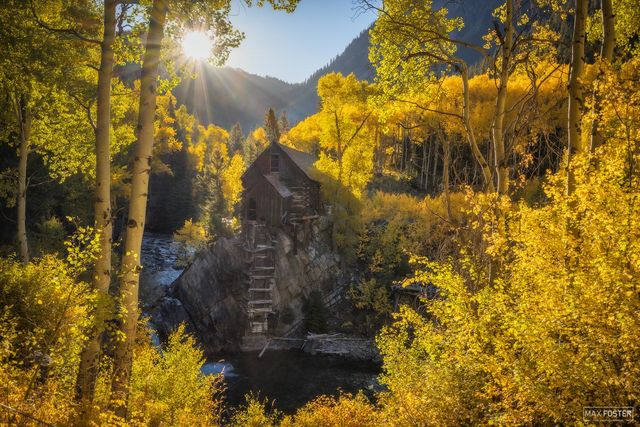
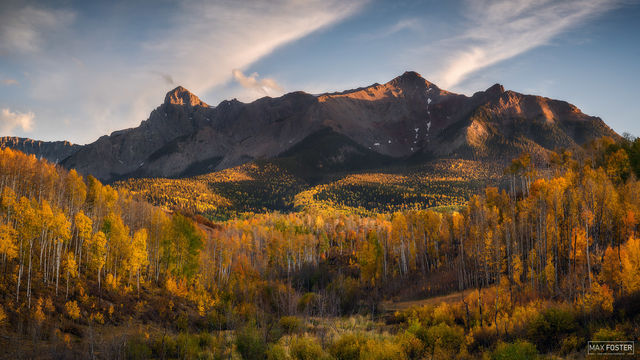
Shoot During the Golden Hours
The golden hours surrounding sunrise and sunset are great any time of the year, but in autumn they enhance the warmth of scenes and can lower contrast from the brighter times of day. The light changes rapidly once the sun is up, so make sure to be ready at your chosen composition ahead of time.
Shoot All Day When Possible
Photographers tend to pack up after sunrise, and not shoot again until sunset. This is a mistake! Watch the weather conditions and light, and always have your camera ready when out exploring. I always try to have my camera with me on shooting days so I don’t miss unique light and compositions.
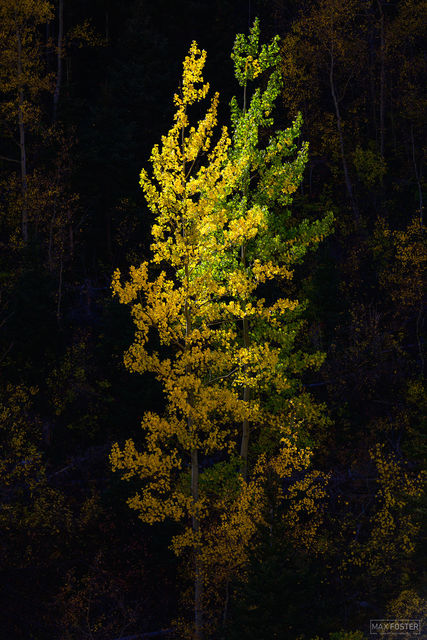
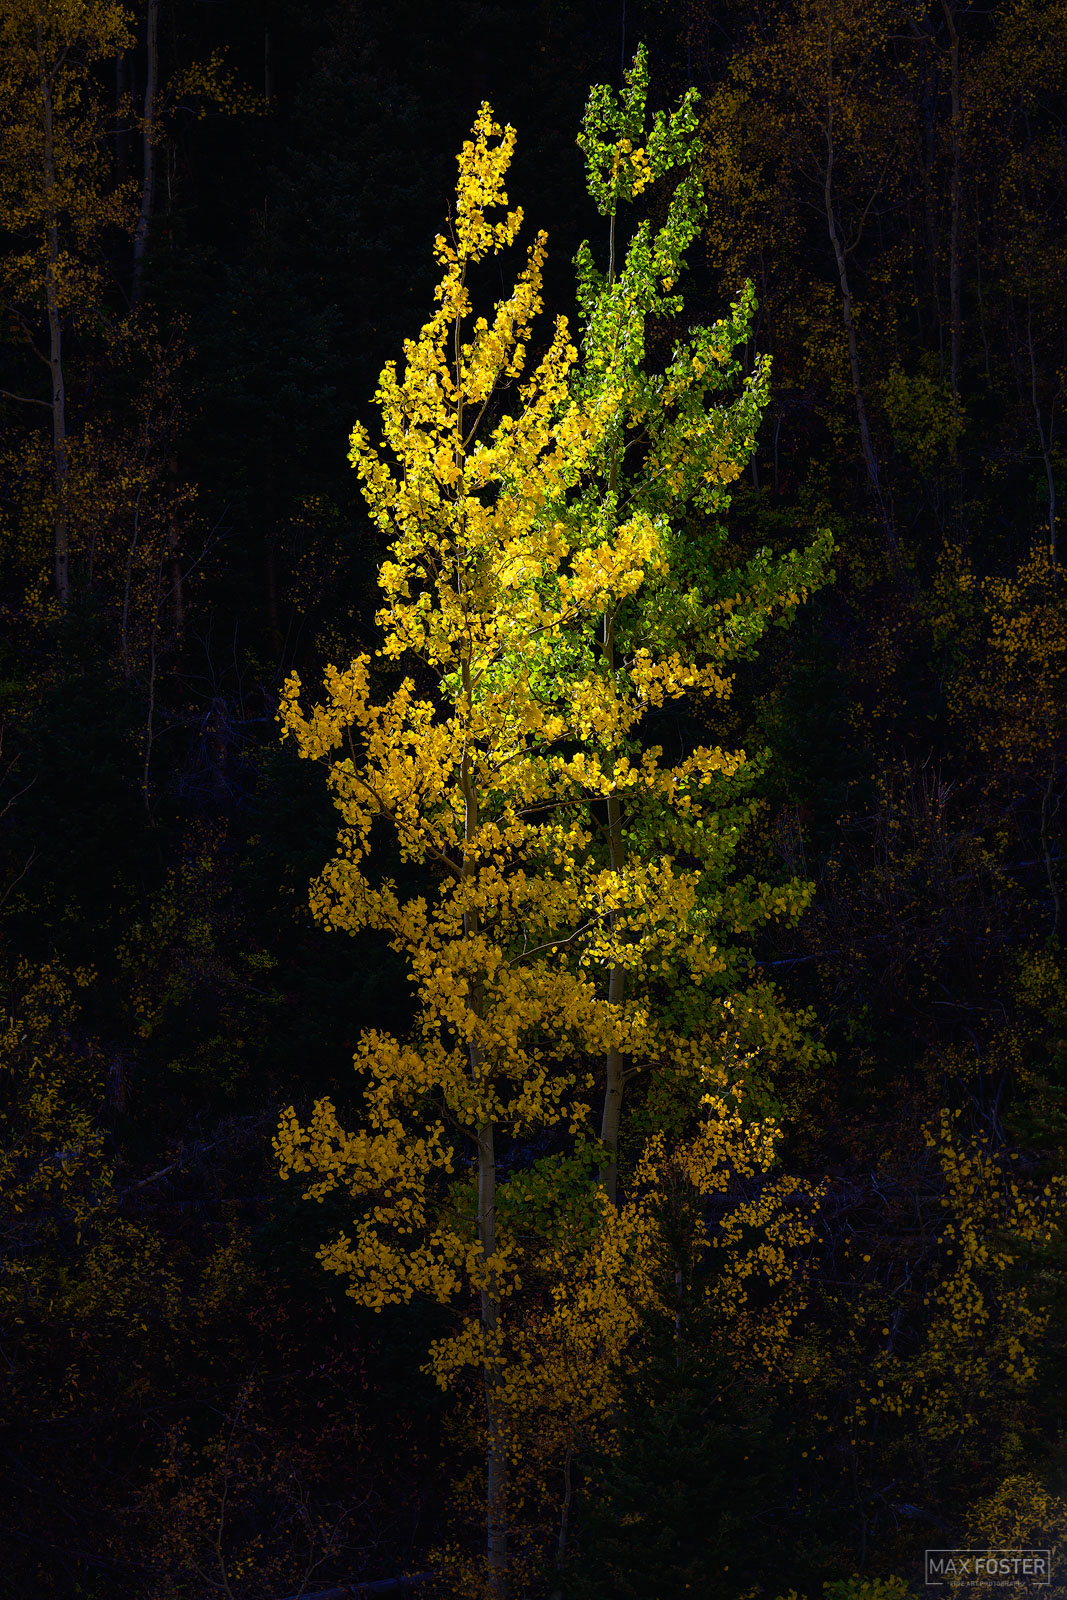
Understand Direction of Sunlight
Front light (sun at your back) works well if you want to enhance color separation and make colors really stand out. However, this type of lighting situation also tends to make scenes feel flat and two dimensional.
Side light (sun to your right or left) is great to add three dimensionality and depth to your images. It enhances textures, and allows great color separation. Scenes with strong sidelight tend to look best when the sun is lowest in the sky, as the light is diffused.

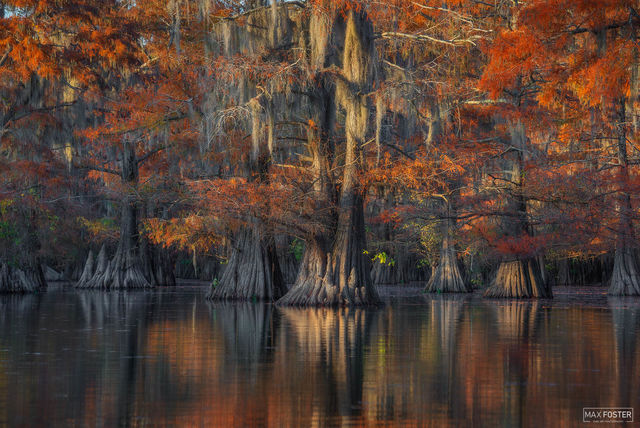
Back lighting (sun in front of you) is something many people avoid. It can be difficult to avoid sun flares and the dynamic range is extreme, but when done well it can be unique and beautiful. Foliage take on a three-dimensional depth that cannot be achieved in any other way. Backlit leaves glow, yet retain their color creating complex and interesting scenes. Experimentation is key to find the best ways to utilize this lighting scenario.
Use A Polarizing Filter
Perhaps the one filter that cannot be replicated in post processing is the circular polarizer. When shooting fall colors, you want to retain all the rich color detail in foliage. Without a polarizer, glare is a significant issue that can reduce the impact of your photos, and colors tend to be less saturated in general. When using a polarizer, make sure to compose your shot and then turn your polarizer to see how it affects the scene. Sometimes you will want to reduce the strength of the effect, especially when using a wide-angle lens or when the sky is a large portion of the image. If it has recently rained, or your composition includes water, a polarizer is a crucial piece of hardware.

Check Sharpness of Foliage when Reviewing Shots
As mentioned above, wind can be difficult to deal with when shooting foliage. Make sure you are reviewing your images as you take them and are zooming in to 100% to ensure no blurring from movement has occurred. Without zooming in, it is easy to gloss over major image imperfections that can be solved by simply increasing shutter speed.

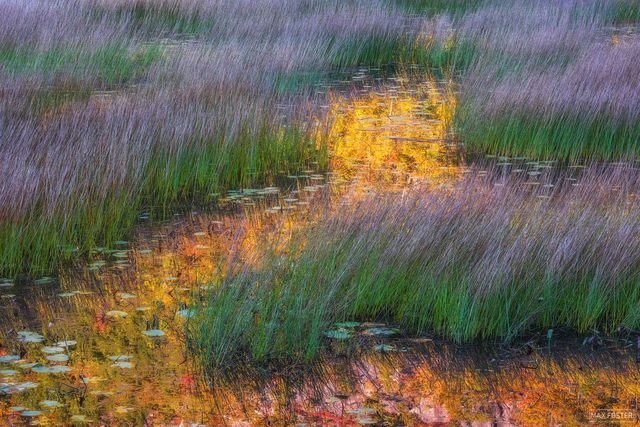
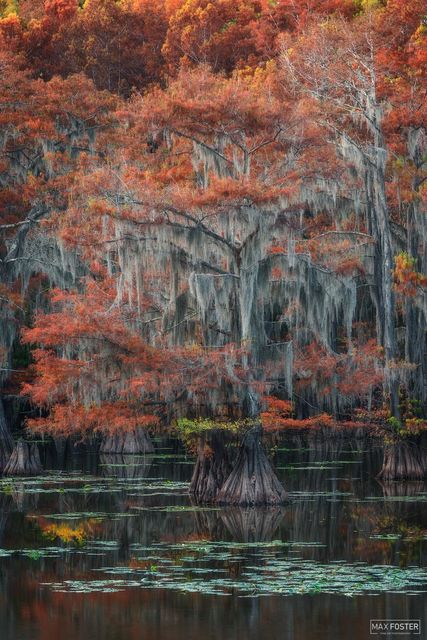
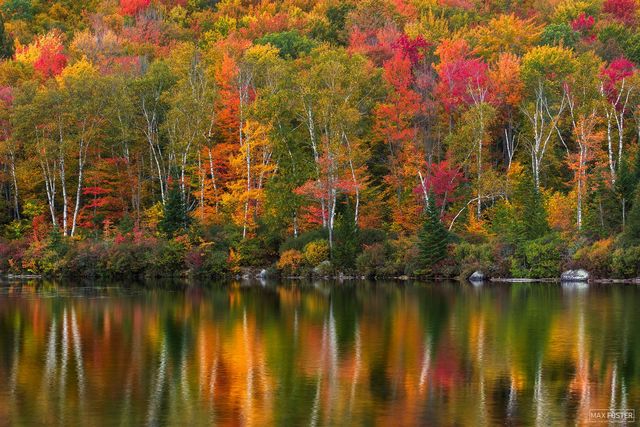
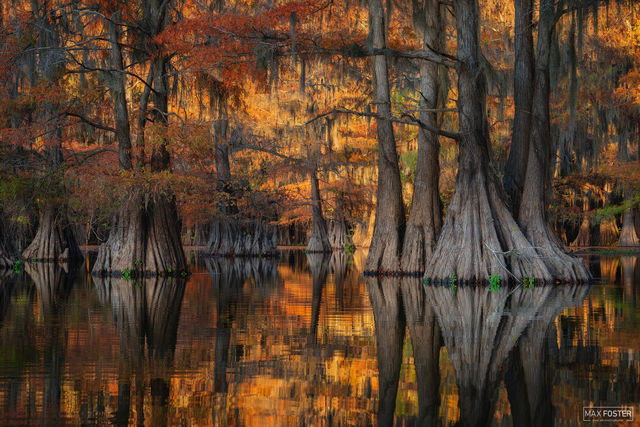
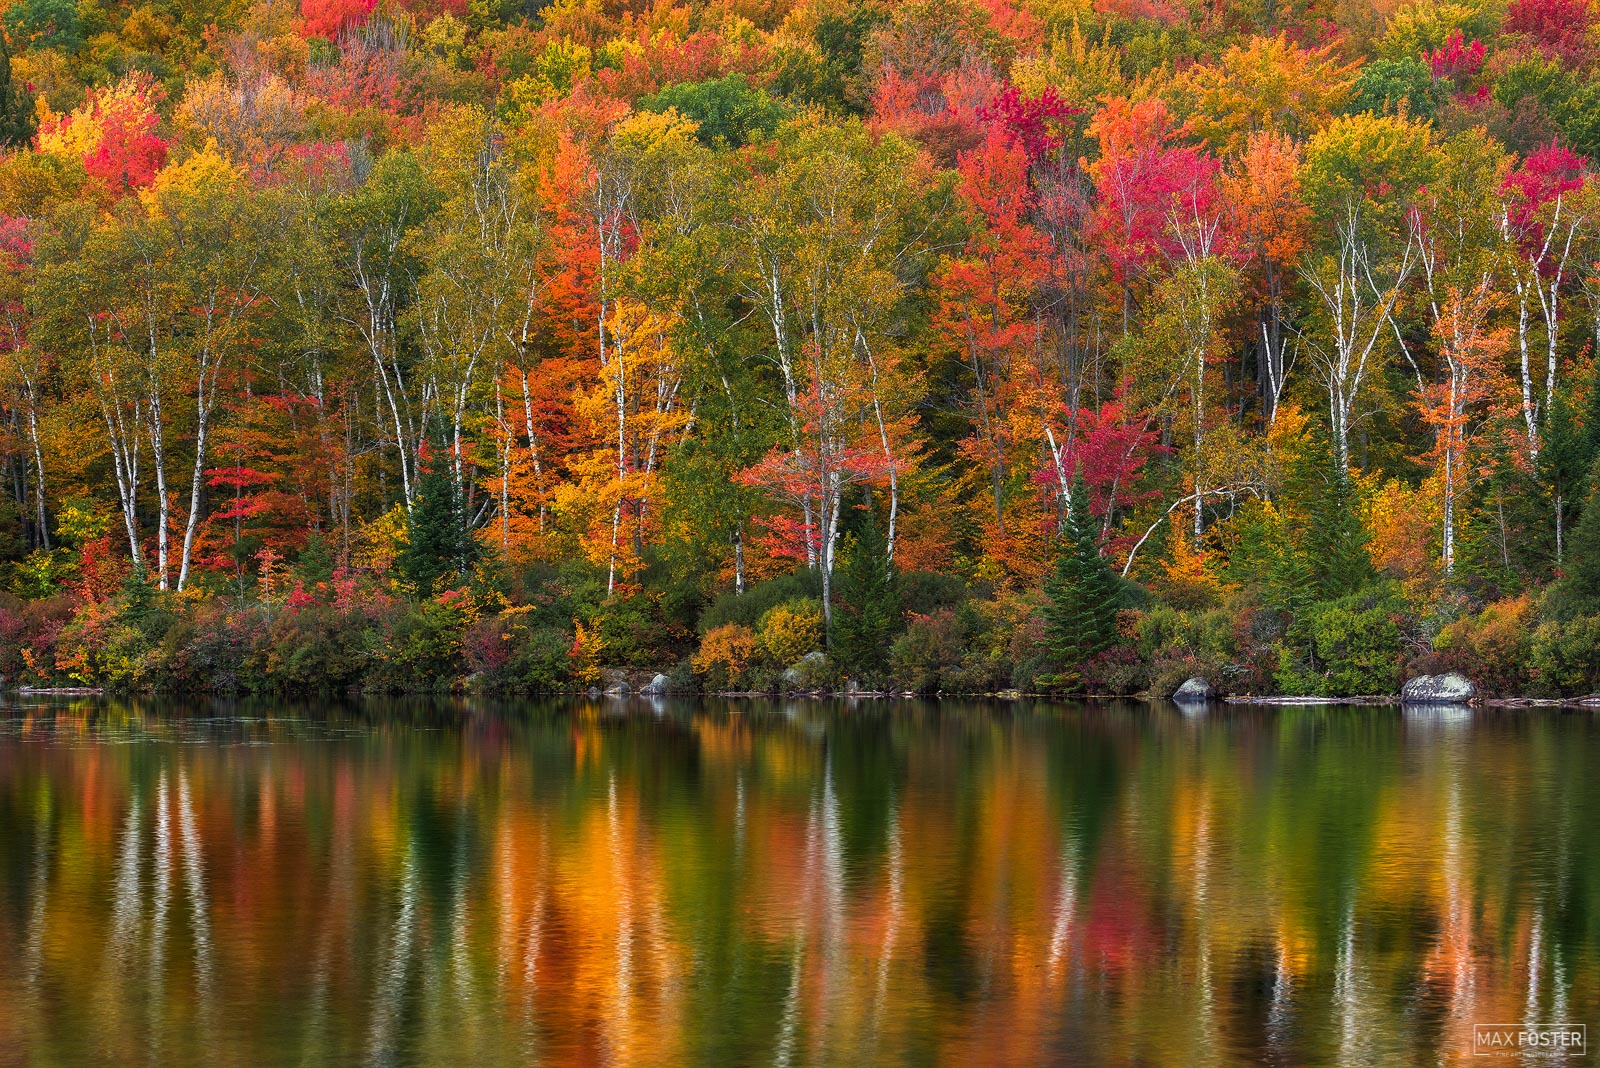
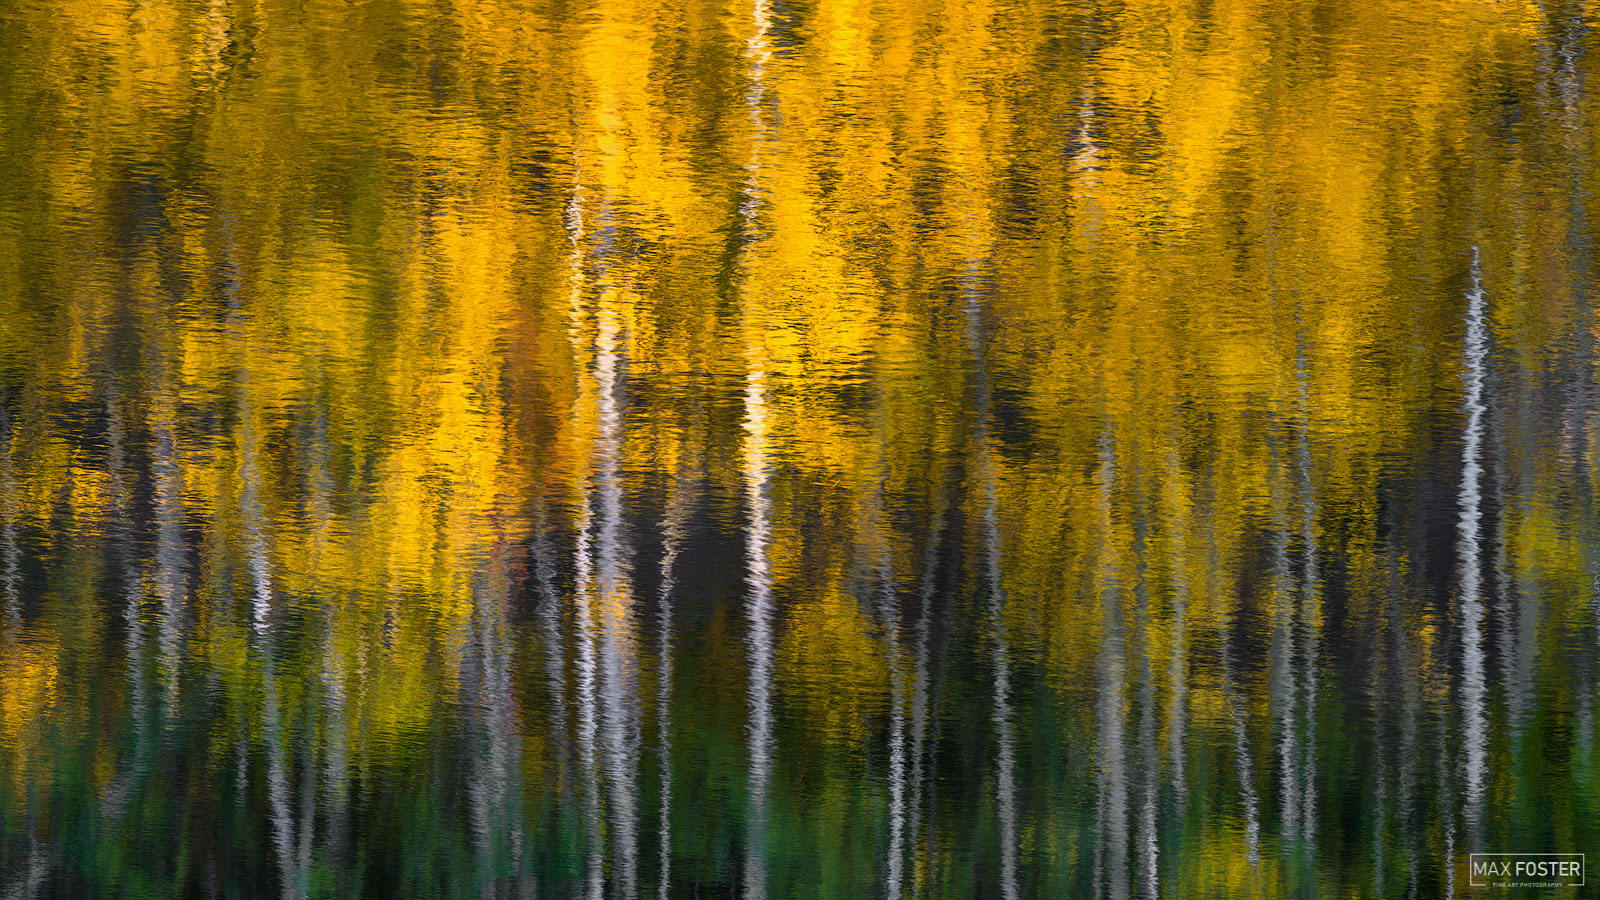
Look For Reflections
Reflections are one of my favorite compositional tools. Using reflections in wide angle compositions is a great way to increase visual interest and make scenes more compelling. Utilizing a telephoto lens to isolate colors, textures or unique elements in water is also a fantastic way to add an abstract touch to your imagery.
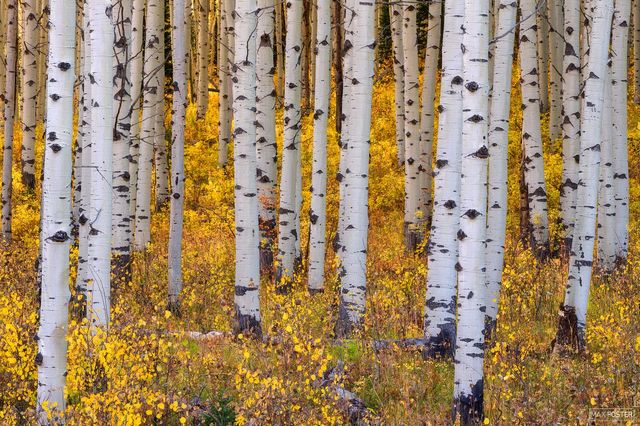
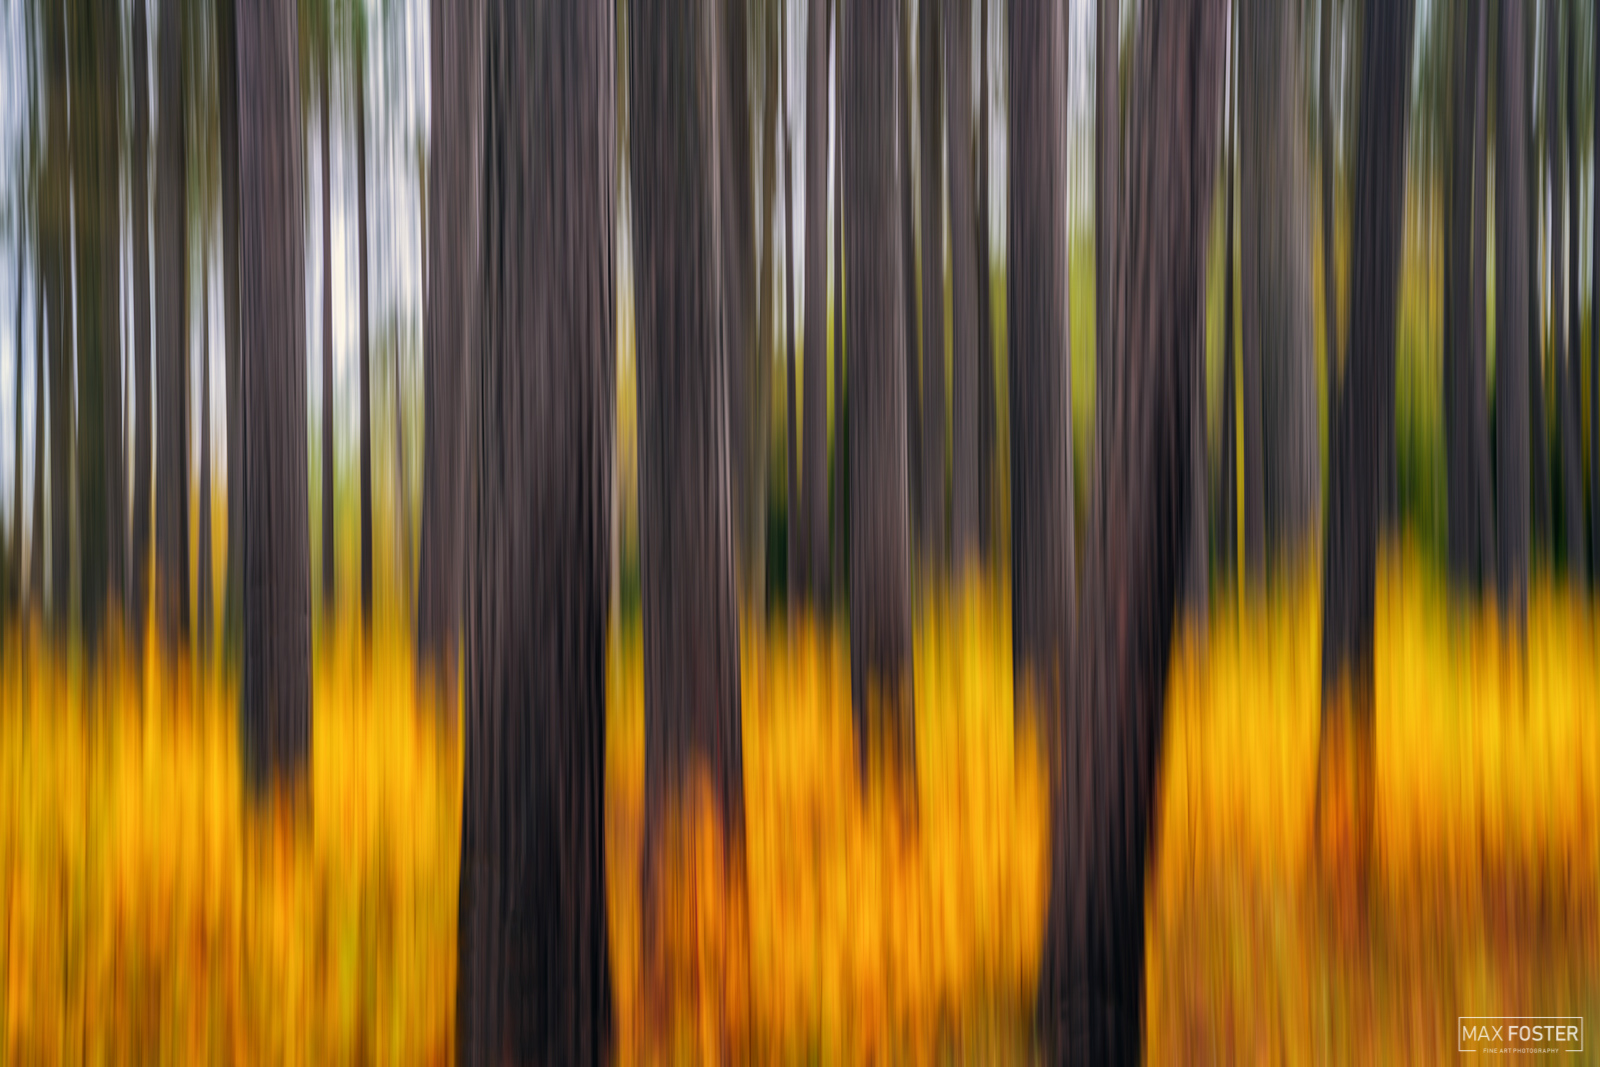
Try Using Intentional Camera Movement
Photographers generally want their cameras firmly planted on a tripod while taking photos. The exception to this is called “intentional camera movement” which is a unique technique to create abstract images. Most often seen in compositions with straight tree trunks, it can be used in a variety of scenes. To utilize this effect, mount your camera on a tripod and compose a scene. Adjust your shutter speed to between 1/4sec & 1 sec and trigger the shutter while simultaneously tilting your camera up or down. This technique allows you to retain some details in the scene, while also creating an abstract look and feel.
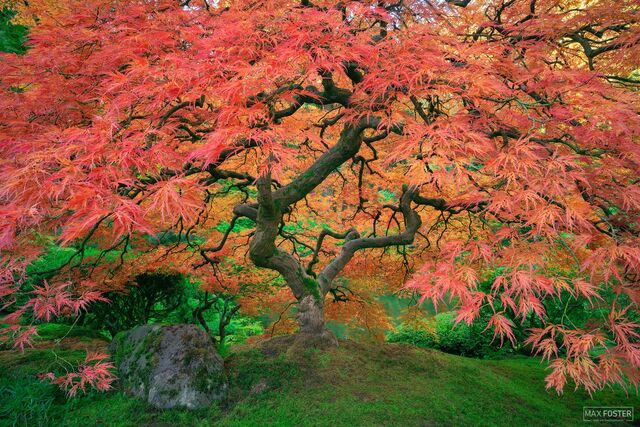
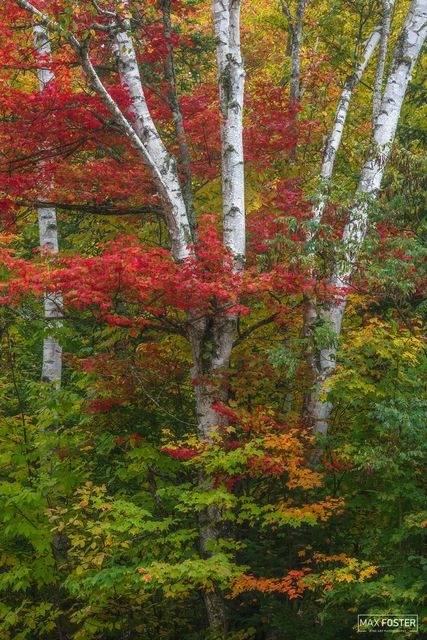
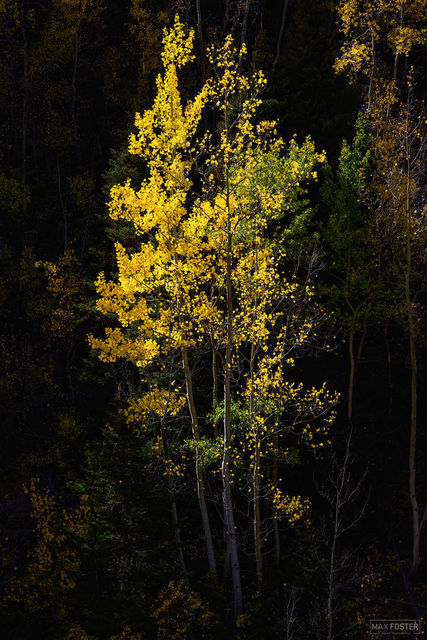
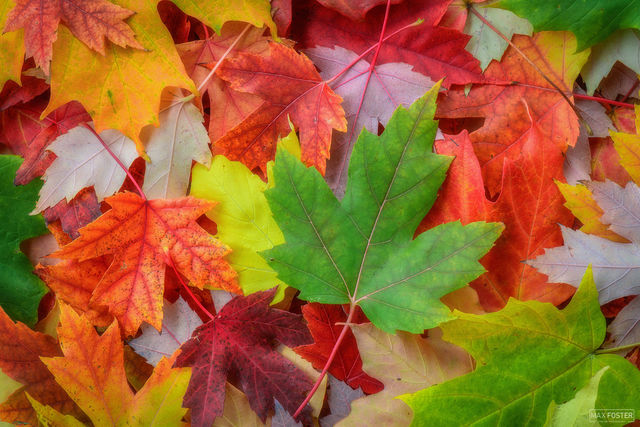
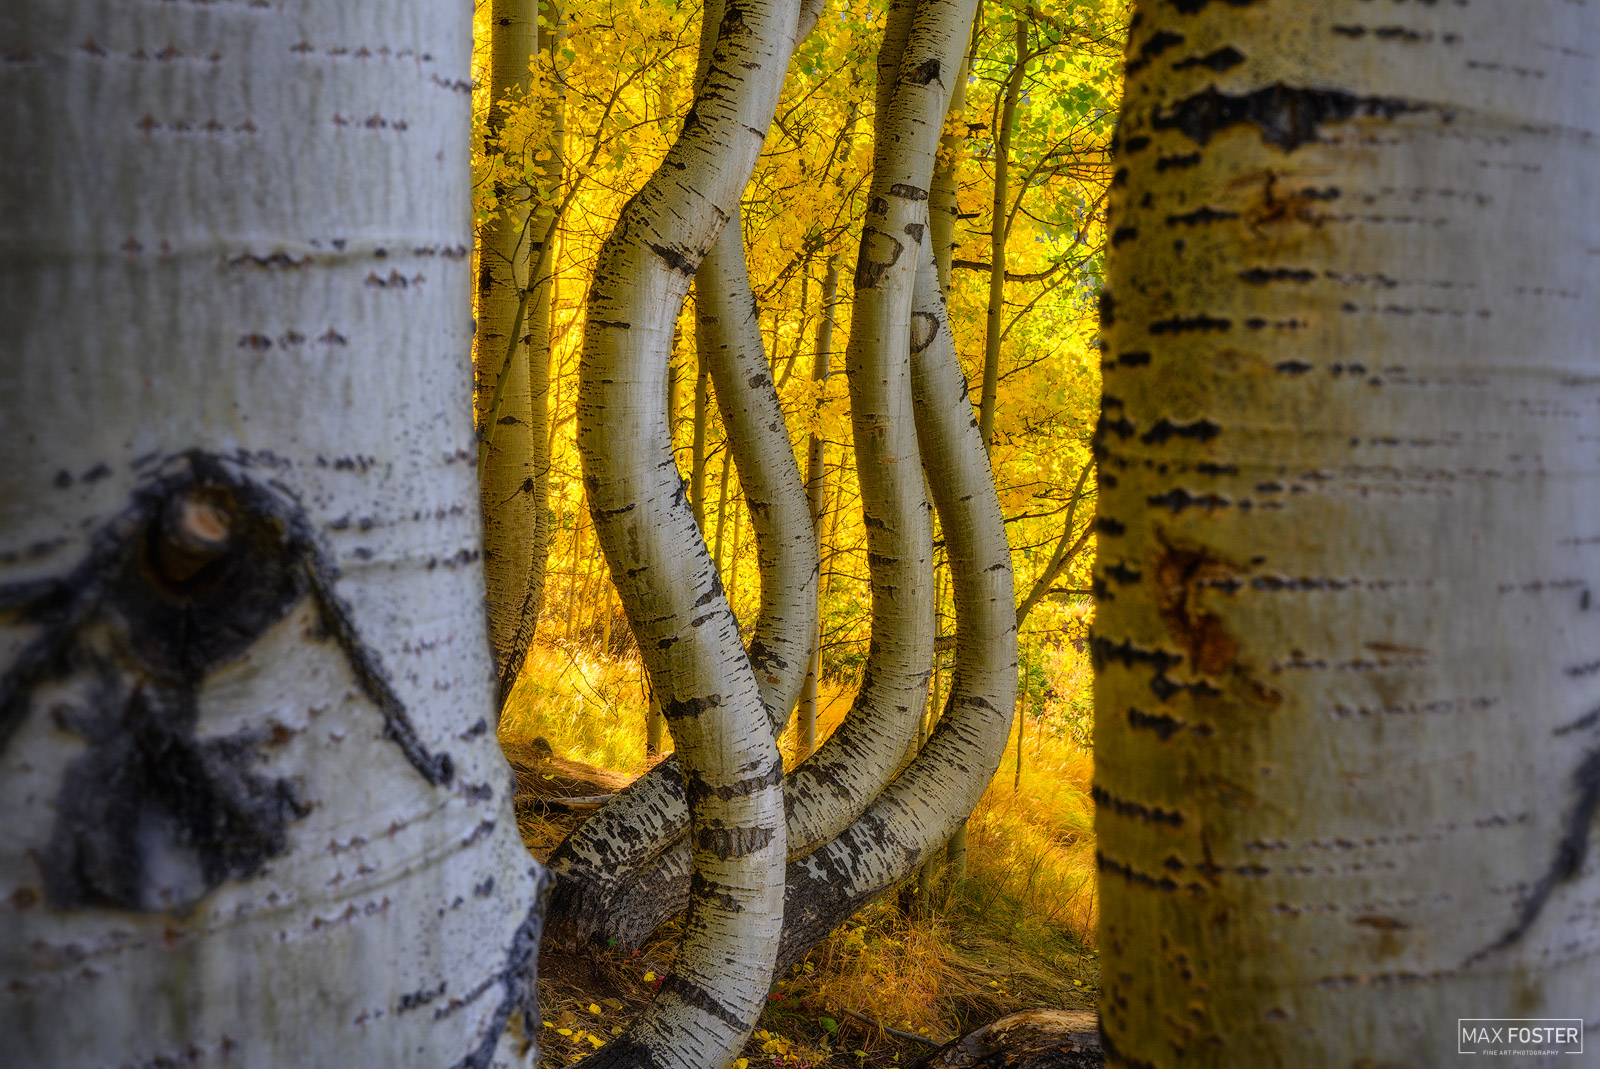
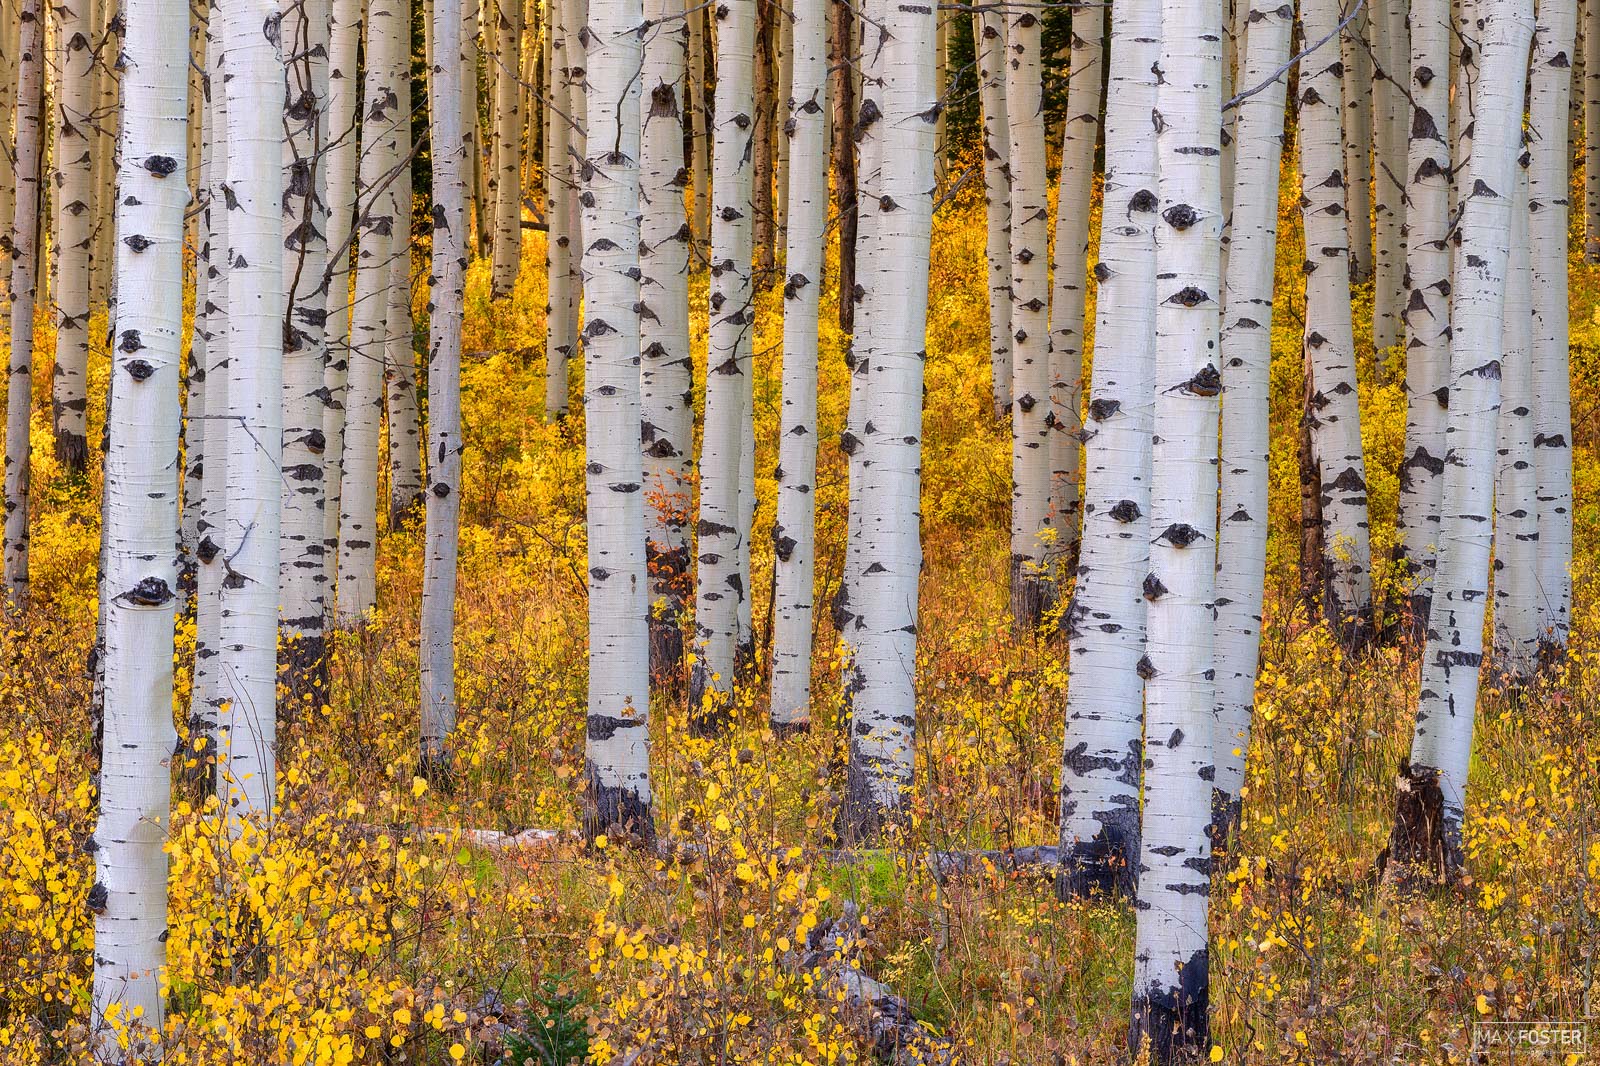
Small Scenes Can Have Large Impact
Use a telephoto lens to isolate subjects such as lone trees, leaves or other small scenes. By excluding the wide vista, you can create a more intimate view of the autumn colors. This technique can be used to create images that are uniquely yours.
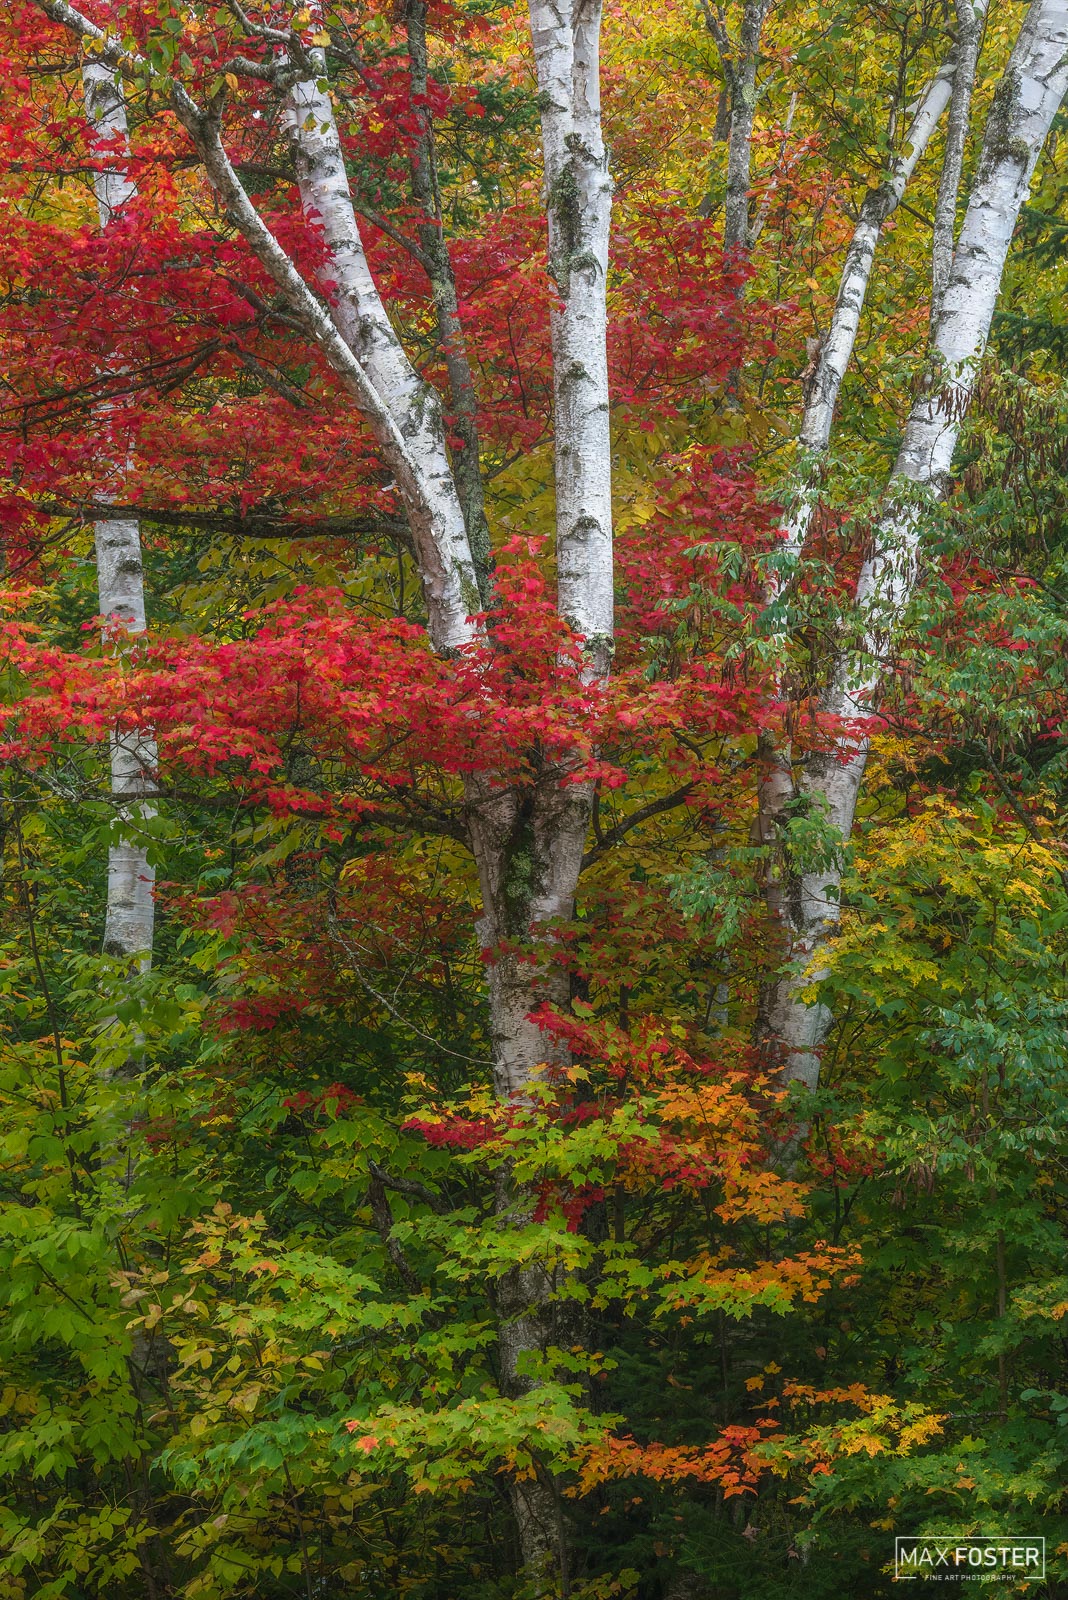
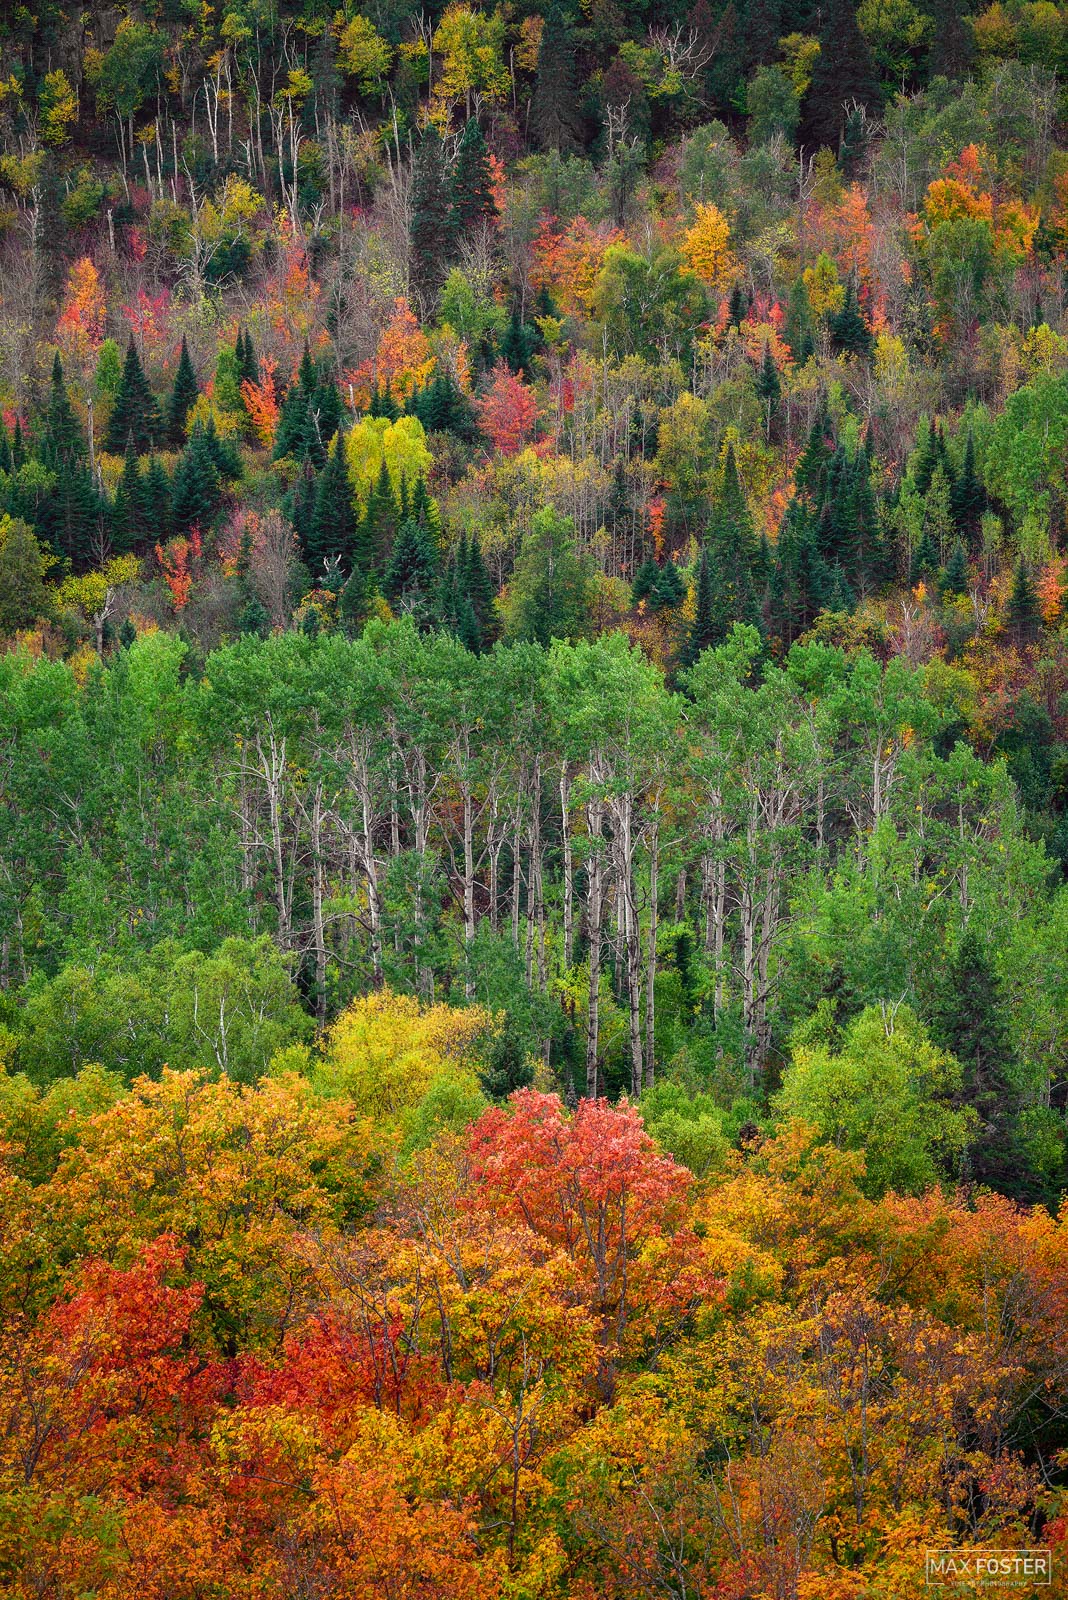
Look for Color Harmonies
Color harmony is created when color combinations are pleasing to the eye. This can be achieved by using contrast or consonance, and there are no strict rules to this idea. However, understanding color harmony will allow you to create stronger compositions while in the field. To learn more, check out Harmonious Color Schemes.
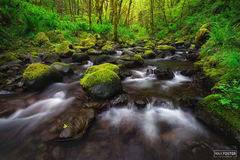
Utilize Long Exposures In Your Shots
Fall colors can oftentimes seem riotous or chaotic in images. To soften that effect, search out scenes with moving water to utilize long exposures. Long exposures of water offer a soothing, soft feel that complements the sharp contrasts of fall colors.
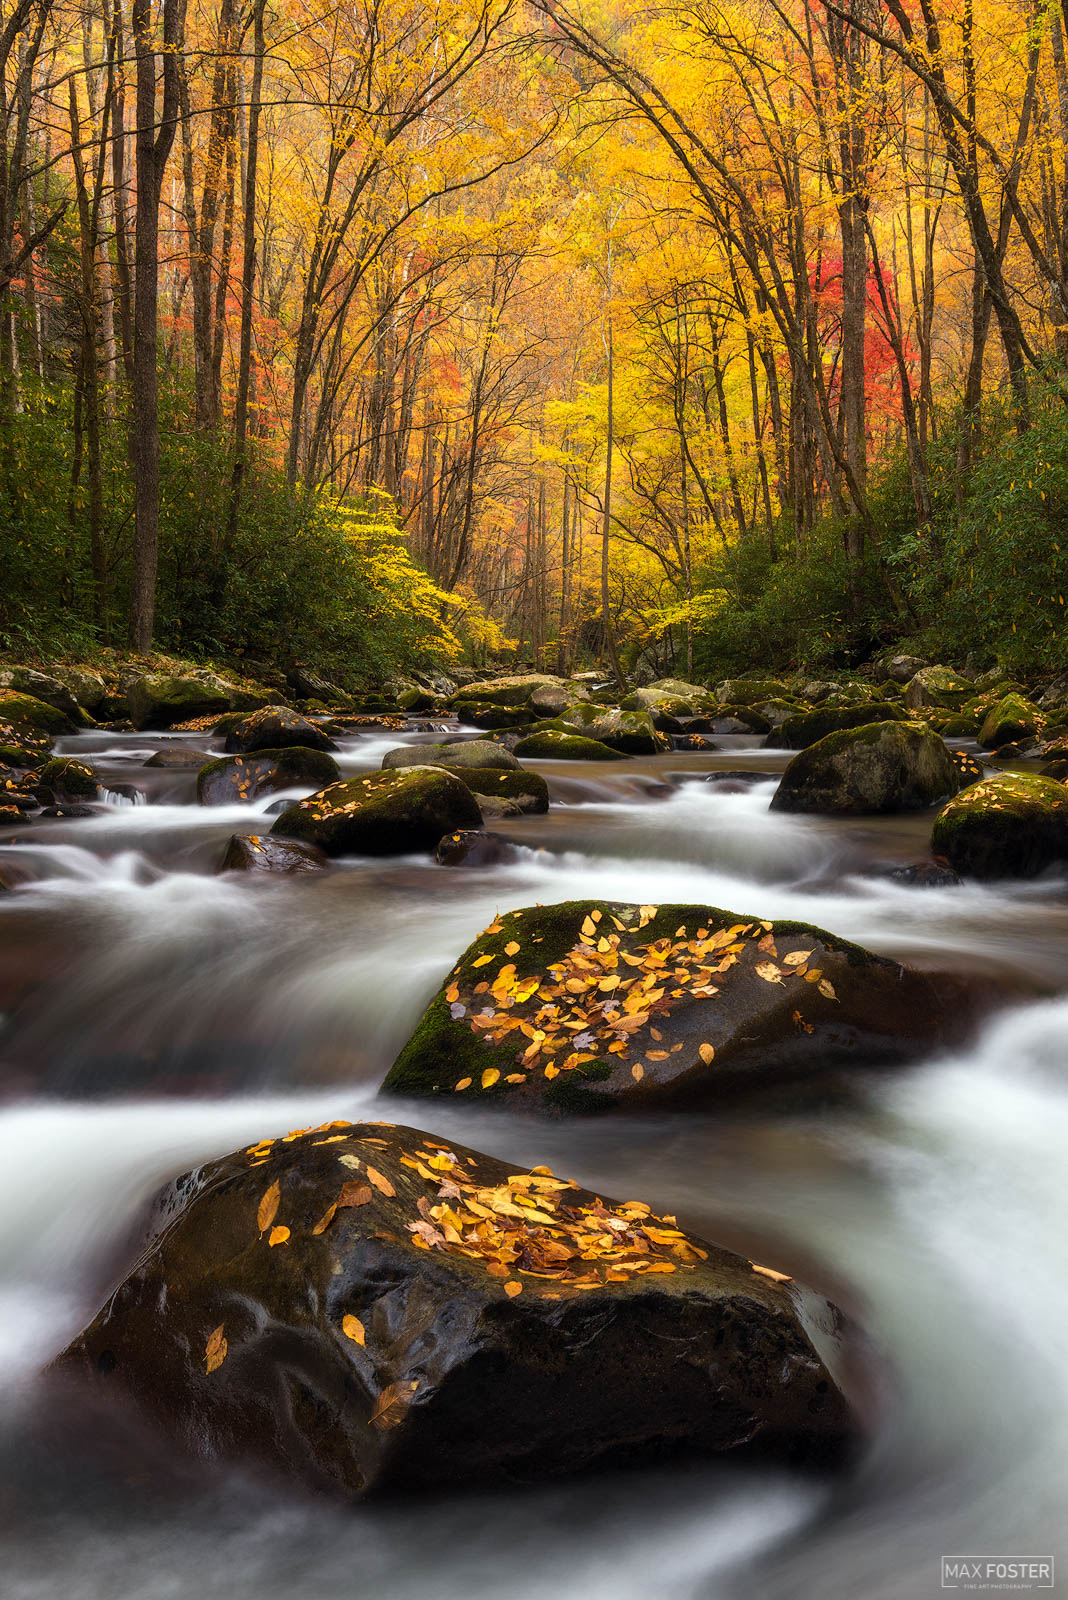
Get Low And Close
To maximize impact, get low and close to your foreground subjects. By using the near-far technique with a wide-angle lens, you can focus your viewer’s attention and create depth in scenes.

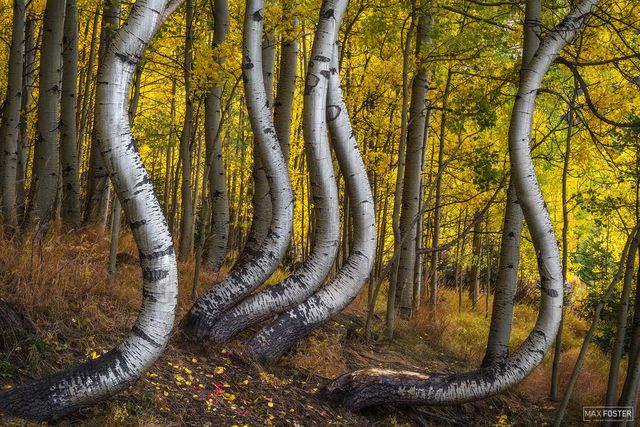
Don't Forget to Look Up
Tree canopies in burst of autumn color can be a splendid sight to behold. Make sure to find a grouping of trees who's canopy fills at least 3/4 of the sky and work the scene until you find the perfect composition.